Need help in using our WordPress theme?
To create a new event, follow the steps:
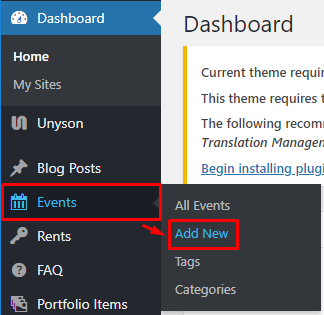
Step 1 - To start creating an event, on your Dashboard navigate to Events > Add New. The Add New Event page will show.
Step 2 - Once your in the Add New Event page, you can add details about the event like title, pictures, videos, pricing, etc., to help with the promotion of the event. You can use the Elements in Rentica to customize it to your liking.
Step 3 - This are the needed information for the event, you can add the details.
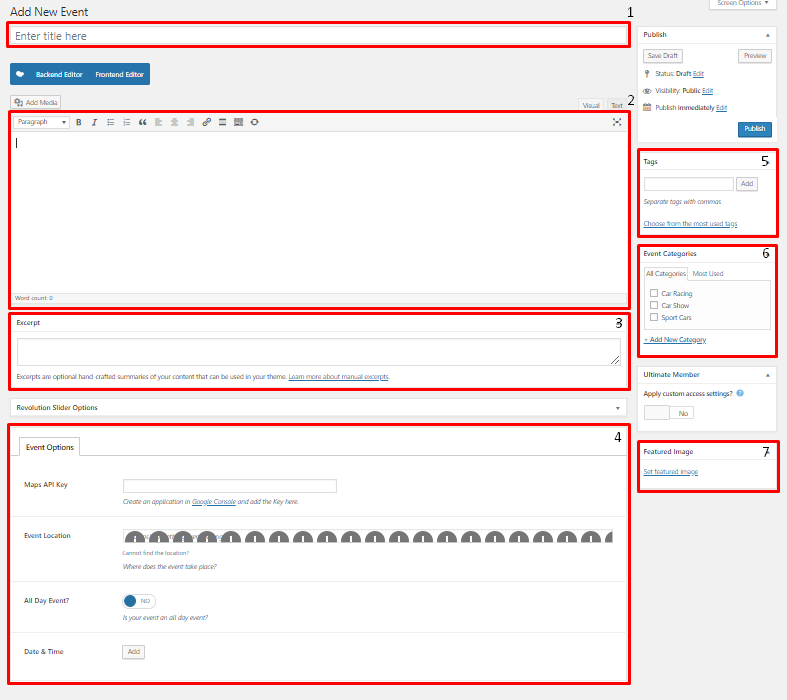
Title - The name of the event.
Editor container - You can add the information for the event, like the rules and requirements to attend the event.
Excerpt - This will serve as the summary of the event.
Event Options - Details about the event.
- Maps API Key - API Key for the google map to work in Event Location.
- Event Location - The address/location of the event.
- All Day Event? - Option to set the time of the event for a whole day.
- Date & Time - The Start date and End date and time of the event.
Tags - Tags that describes the event.
Event Categories - Categories that can be used to group events with similar themes/category.
Featured Image - The Image shown in the listings/pages.
Note
To have the same look as the demo, these are the sizes for the Featured Image:
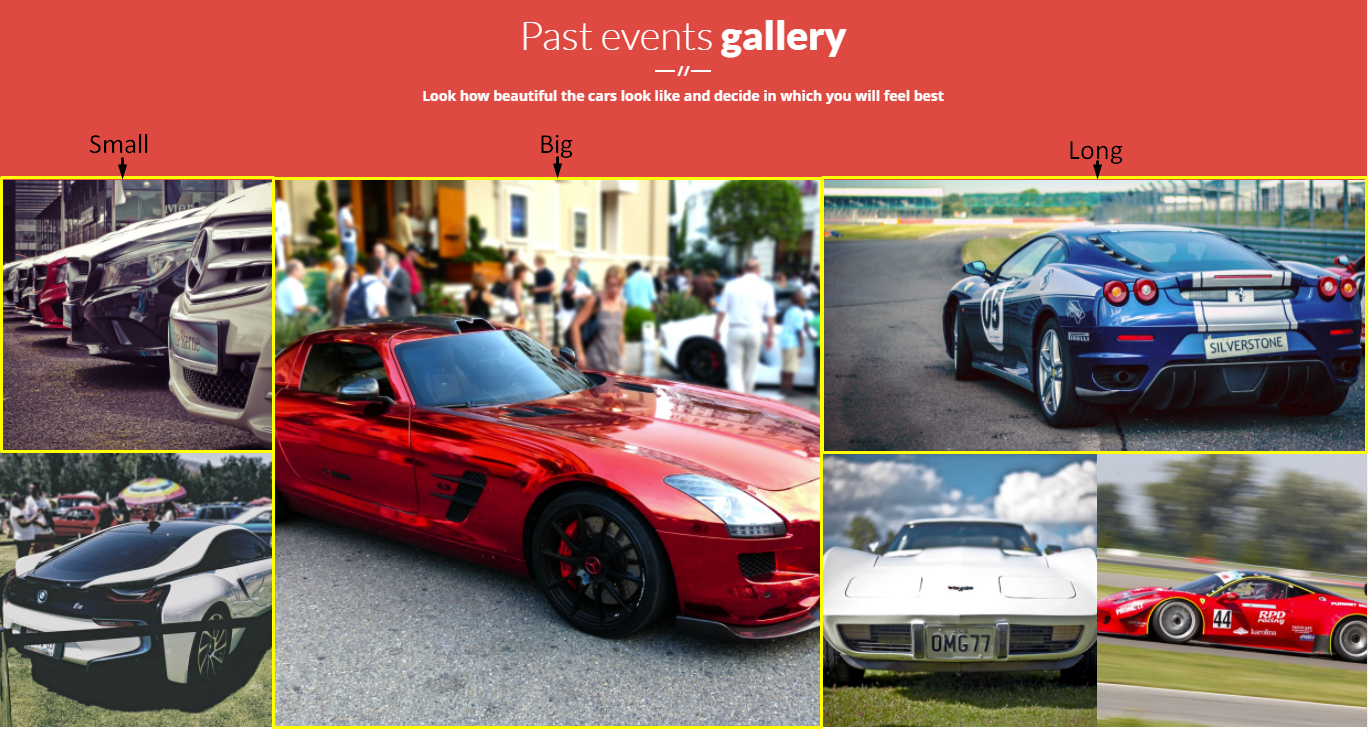
- Small - 996px x 996px
- Big - 1992px x 1992px
- Long - 1992px x 996px
Step 4 - Add all the needed details and descriptions for the event, Once satisfied click on Publish button.